***** ALERT - Nominations for your new ClubCJ Committee can be made here *****
CC Coupe engine repairs...
Moderators: Moderators, Senior Moderators
-
himynameisdaniel
- Lancer Evolution

- Posts: 824
- Joined: Mon Feb 14, 2011 3:58 pm
- Location: Adelaide
1. you should have some coolant in the system before startup. the amount is not really important as you will need to bleed the system anyway.
2. Allways have oil in your crankcase before startup. if the engine has been sitting for a long time bone dry, manually rotate it so that oil gets covered atleast through some parts.
it can take some time to build up pressure and this is were most of the wear occurs.
3.are the wires bare\exposed (no plastic shielding\sheath) then yes fix it now before you connect your battery.
4.there are some good guides on youtube for cleaning. the only tip i can share is dont use a cleaning material that is harder than the surface of your block.
- Lancer1993
- Genius

- Posts: 5342
- Joined: Sat Dec 06, 2014 12:46 pm
- Location: Caloundra
- Contact:
Yeah I know to put coolant back in and check the oil level.
Not run in about 2 week, might be 3 by the time I get it all together. I've left it longer over the last 6 months in the back yard between starts. I was told to put some oil over the head internals once back on the engine before putting the cover back on.
The wires aren't exposed, just the plastic tube thing that bundles them together has deteriorated over the last 21 years, either way I'll cover them while I can get to them easily.
The block is iron and I have seen not to use any chemicals and to put paper in the cylinders to stop stuff getting in them, then use a vacuum to clean up before removing the paper.
If I have any issues I'll post them here as I have been. This is the biggest engine job I've done.
Now most importantly should I paint the valve cover yellow!
- Lancer1993
- Genius

- Posts: 5342
- Joined: Sat Dec 06, 2014 12:46 pm
- Location: Caloundra
- Contact:
Got stuck into work on the car today...
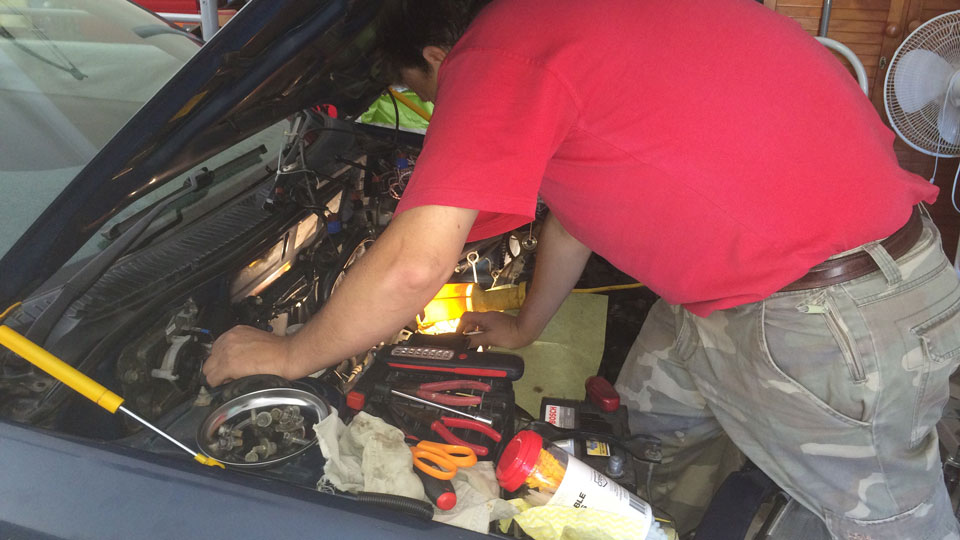
Removed the radiator as it will need replacing, fans out too. Then fixed the protection around the wires running to the alternator and starter. Better off doing it now it's easy to get to!
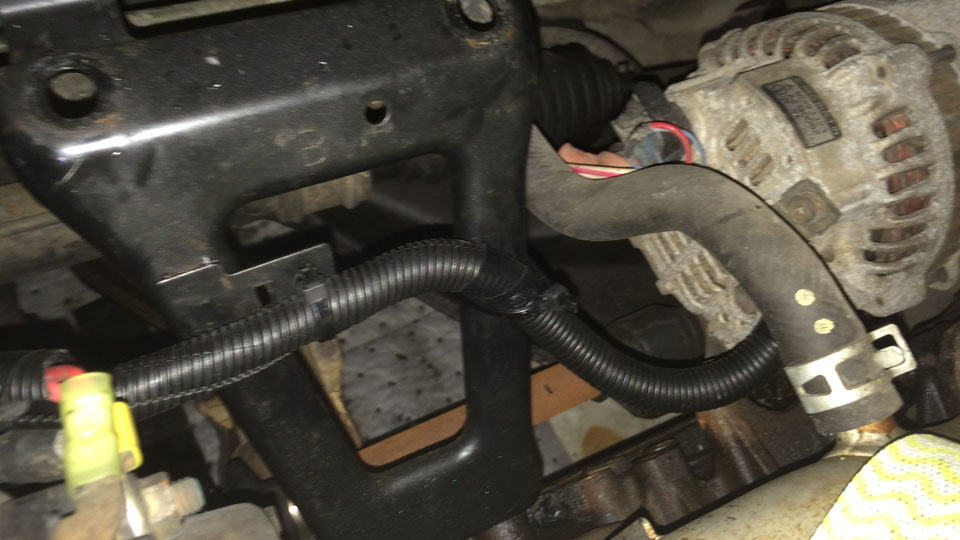
Started cleaning the top of the engine and hope to have the head back on tomorrow along with the manifolds.

Removed the radiator as it will need replacing, fans out too. Then fixed the protection around the wires running to the alternator and starter. Better off doing it now it's easy to get to!

Started cleaning the top of the engine and hope to have the head back on tomorrow along with the manifolds.
- Lancer1993
- Genius

- Posts: 5342
- Joined: Sat Dec 06, 2014 12:46 pm
- Location: Caloundra
- Contact:
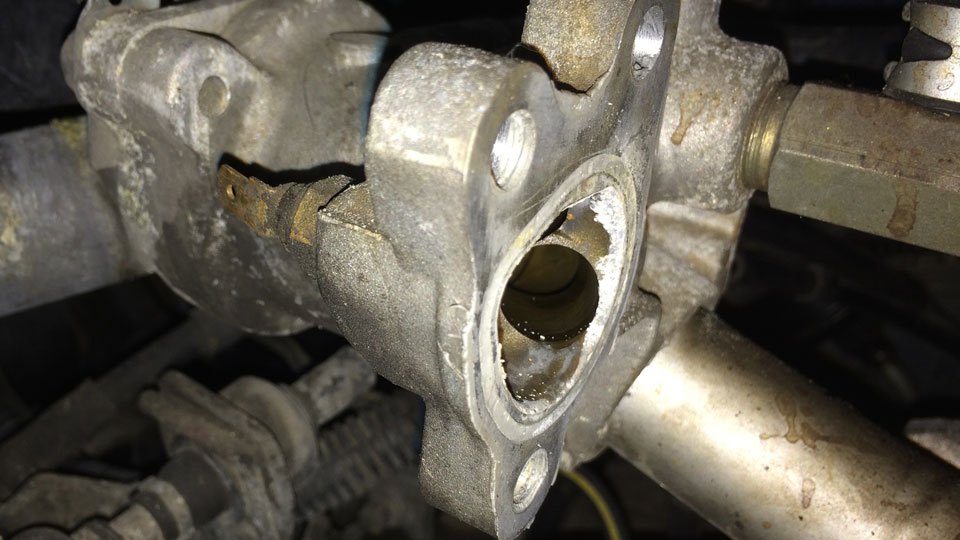
Another hurdle - cleaned up the head and ready to put it back together so I opened up the gasket set. But there is no casket for the thermostat housing, is this normal and how do they seal it?
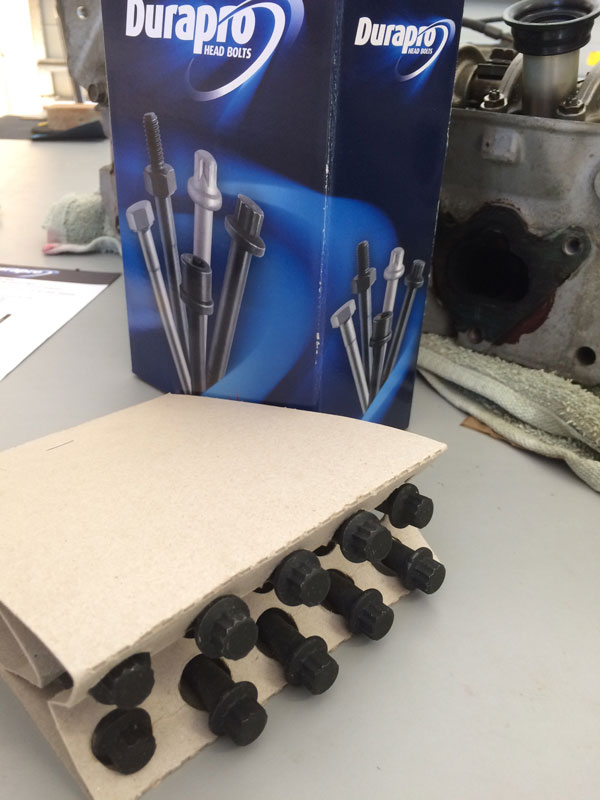
Also opened up the head bolts box and there are no new washers, I thought they were one use washers or do I just use the old ones?
Also opened up the head bolts box and there are no new washers, I thought they were one use washers or do I just use the old ones?
- Lancer1993
- Genius

- Posts: 5342
- Joined: Sat Dec 06, 2014 12:46 pm
- Location: Caloundra
- Contact:
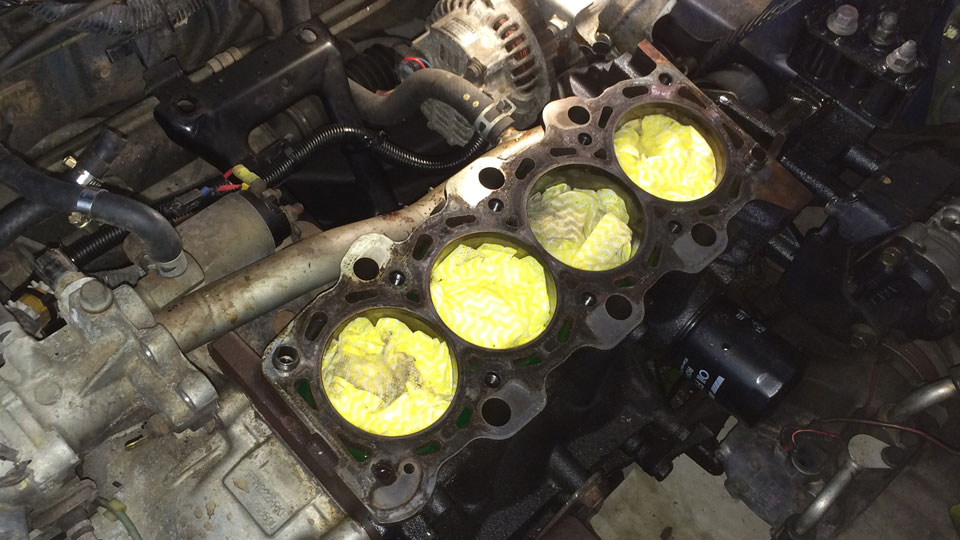
Cleaned up the surface today, good thing I picked up the old table for $0 last week!
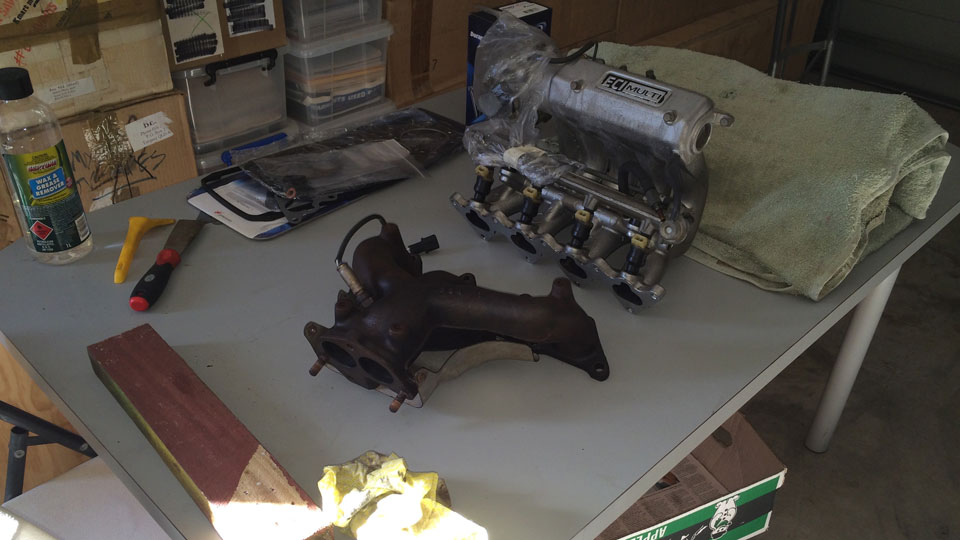
Head nice and skimmed at the head shop.
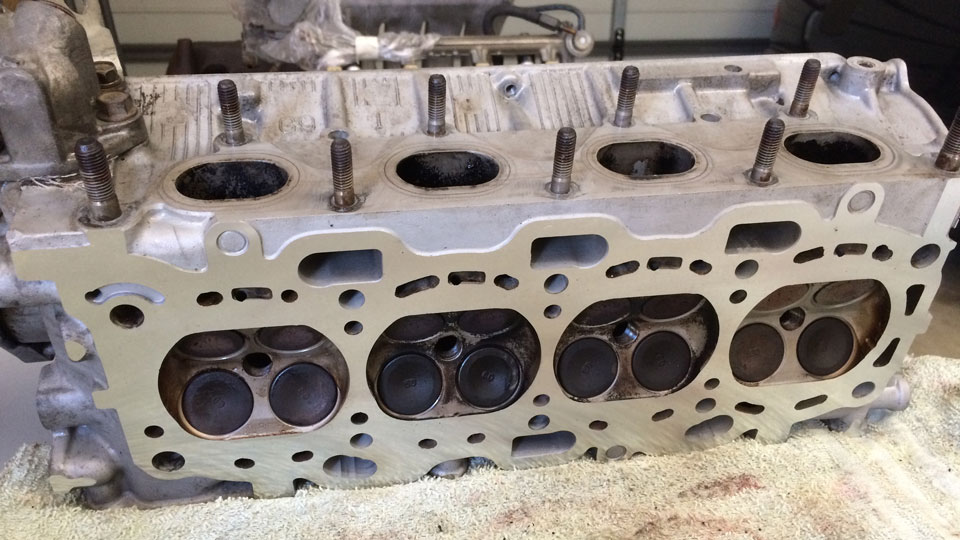
Intake clean but look at the crap that fell out, should I spray something in there to get more out?
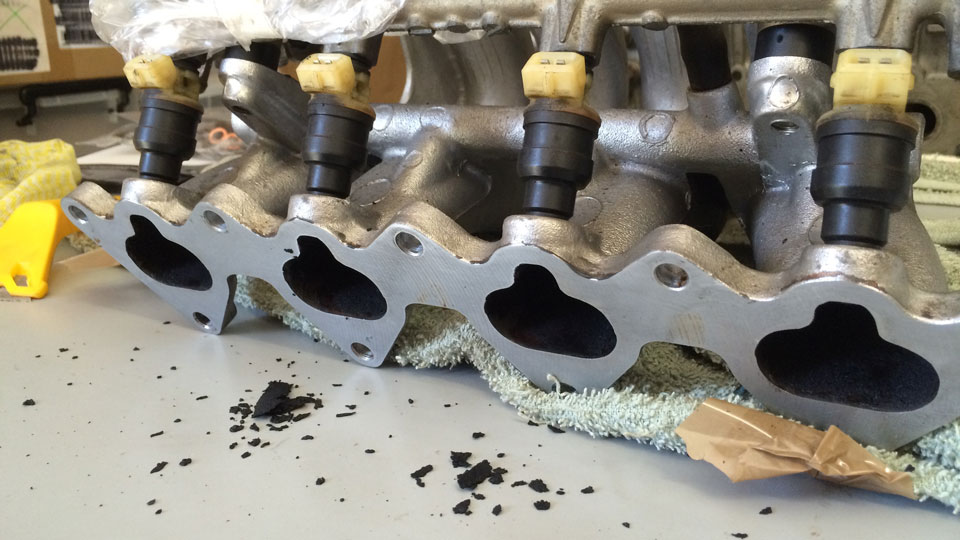
Used a razor blade and W&D paper on a sanding pad to clean off the gasket remains.
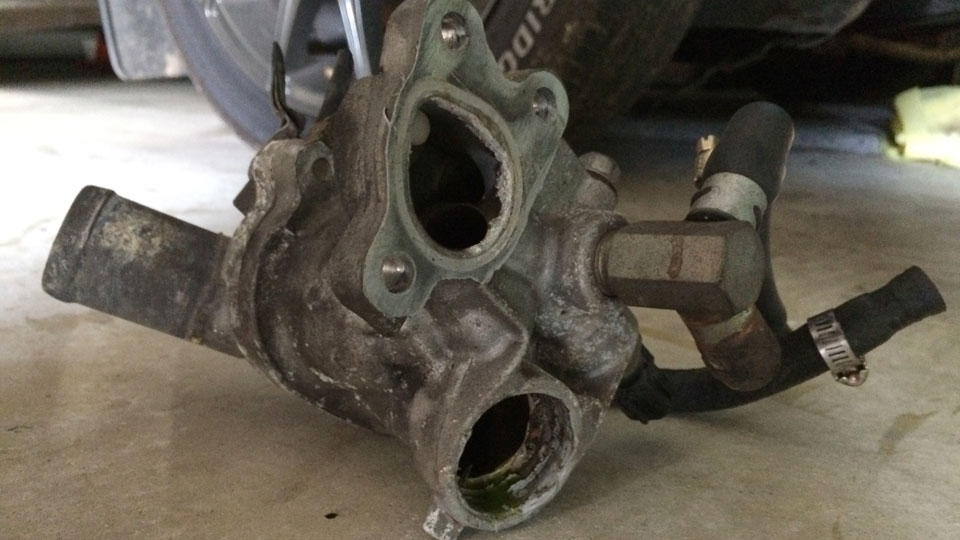
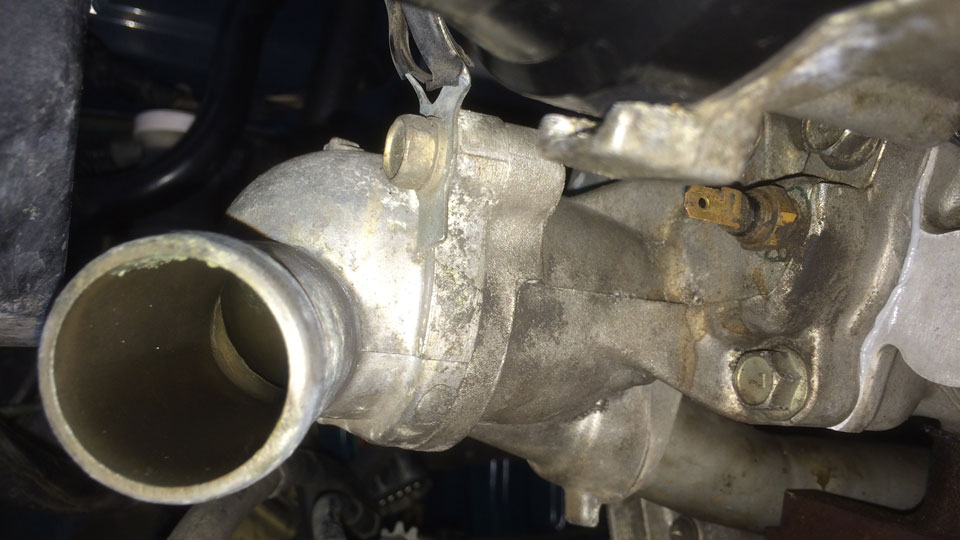
Here is the thermo housing, guess I need some paste and clean off the old stuff. Should I pull the housing off the pipe?
And here are the head bolts, but no washers in the box?
I do have one other issue, how do you attach the manifolds which are meant to have set torque tensions but the normal wrench won't fit. I know it's critical to get them right for attaching the head but what about the manifolds?
Now I need to attach the exhaust before the head goes on as it won't fit, the PS mount is in the way. Also the inlet manifold was a bugger to get off when on the engine and probably just as hard to put on.
This will mean it will be a heavy lift back on to the engine and make sure I don't damage the new head gasket.
Any advice on doing this will be helpful!

Head nice and skimmed at the head shop.

Intake clean but look at the crap that fell out, should I spray something in there to get more out?

Used a razor blade and W&D paper on a sanding pad to clean off the gasket remains.

Here is the thermo housing, guess I need some paste and clean off the old stuff. Should I pull the housing off the pipe?

And here are the head bolts, but no washers in the box?

I do have one other issue, how do you attach the manifolds which are meant to have set torque tensions but the normal wrench won't fit. I know it's critical to get them right for attaching the head but what about the manifolds?
Now I need to attach the exhaust before the head goes on as it won't fit, the PS mount is in the way. Also the inlet manifold was a bugger to get off when on the engine and probably just as hard to put on.
This will mean it will be a heavy lift back on to the engine and make sure I don't damage the new head gasket.
Any advice on doing this will be helpful!
- Lancer1993
- Genius

- Posts: 5342
- Joined: Sat Dec 06, 2014 12:46 pm
- Location: Caloundra
- Contact:
- Lancer1993
- Genius

- Posts: 5342
- Joined: Sat Dec 06, 2014 12:46 pm
- Location: Caloundra
- Contact:
- Lancer1993
- Genius

- Posts: 5342
- Joined: Sat Dec 06, 2014 12:46 pm
- Location: Caloundra
- Contact:
-
himynameisdaniel
- Lancer Evolution

- Posts: 824
- Joined: Mon Feb 14, 2011 3:58 pm
- Location: Adelaide
- Lancer1993
- Genius

- Posts: 5342
- Joined: Sat Dec 06, 2014 12:46 pm
- Location: Caloundra
- Contact:
Yeah I know it's a AT fluid line and unless you plan on taking it out and putting it in an auto you can just leave it or I guess just remove the lines and don't worry about the holes left?
You'll not see the lines as they are down the bottom and hidden by the fans.
So anyone in the Caloundra area with experience putting heads back on?
You'll not see the lines as they are down the bottom and hidden by the fans.
So anyone in the Caloundra area with experience putting heads back on?
- Lancer1993
- Genius

- Posts: 5342
- Joined: Sat Dec 06, 2014 12:46 pm
- Location: Caloundra
- Contact:
Bit by bit it's coming together, got the thermo housing on then the inlet manifold.
Also test fitted the new radiator.
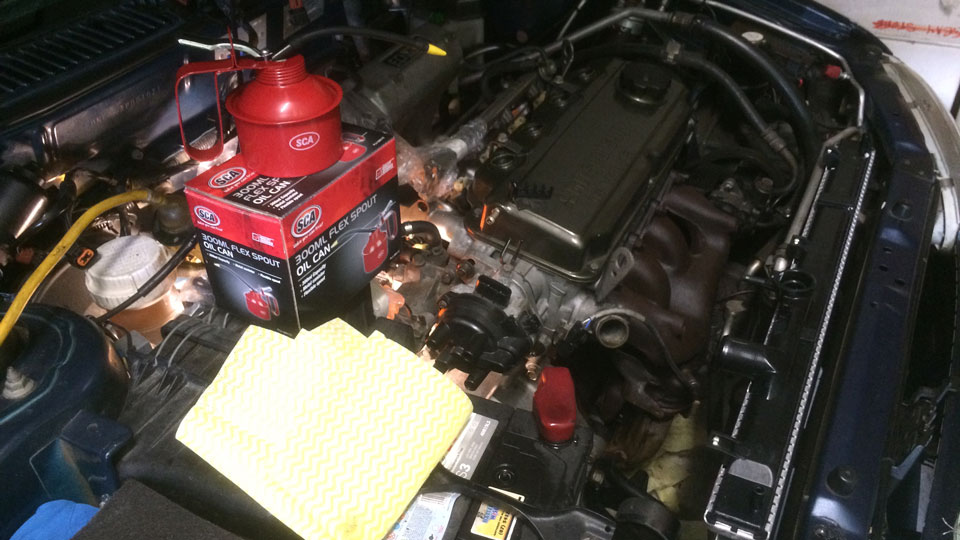
Kinda wish I'd done the manifold first, the bolts on the underside are a bitch to get on and tight.
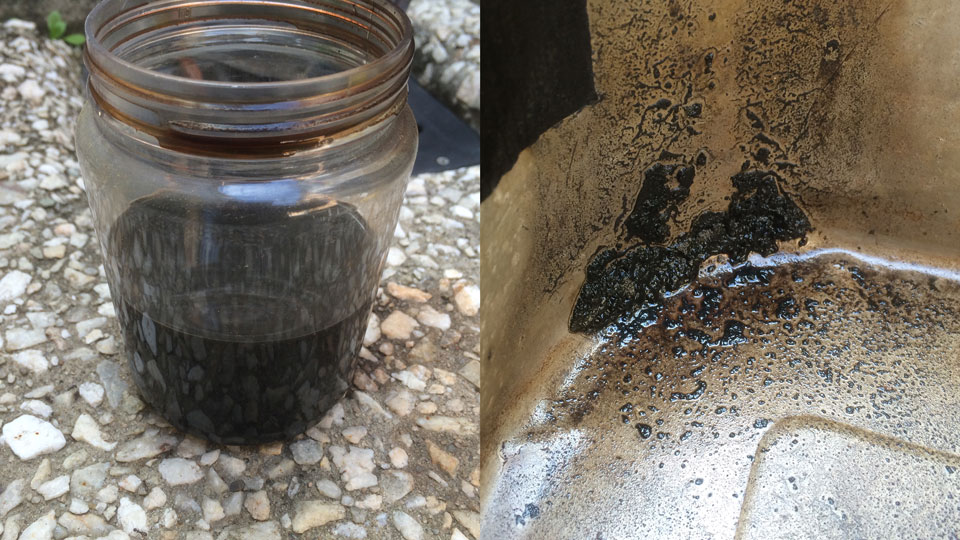
Cleaned the manifold before fitting it and this is the crap that came out!
Still got a load of work to do, like hooking up all the wiring and other lines, to get the last manifold bolt in I had to remove one of the heater lines I had put on, good thing there was no water in the system yet.
I was wondering with the radiator it has the AT lines and would like to remove them as it will have the install much easier with the fans in the way.
What plugs should I use to keep unwanted stuff out. Yes I know the line carries AT fluid and is not linked to the coolant so won't affect the running of the car.
I like the work I've done, wouldn't call it 'fun' with all the cuts on my hands but it's a learning experience and well worth doing just for the experience, now I hope the hard work pays off and it runs again next weekend.
Also test fitted the new radiator.

Kinda wish I'd done the manifold first, the bolts on the underside are a bitch to get on and tight.

Cleaned the manifold before fitting it and this is the crap that came out!

Still got a load of work to do, like hooking up all the wiring and other lines, to get the last manifold bolt in I had to remove one of the heater lines I had put on, good thing there was no water in the system yet.
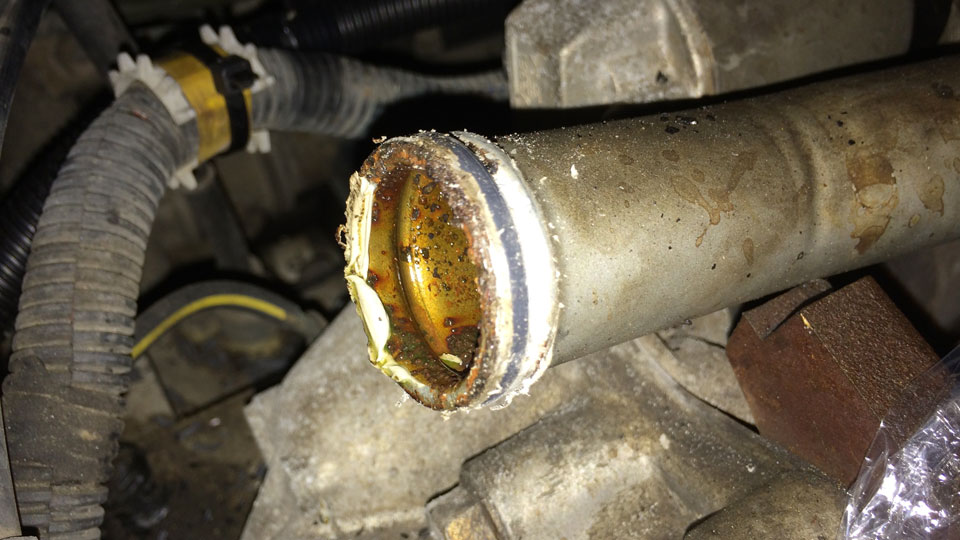
I was wondering with the radiator it has the AT lines and would like to remove them as it will have the install much easier with the fans in the way.
What plugs should I use to keep unwanted stuff out. Yes I know the line carries AT fluid and is not linked to the coolant so won't affect the running of the car.
I like the work I've done, wouldn't call it 'fun' with all the cuts on my hands but it's a learning experience and well worth doing just for the experience, now I hope the hard work pays off and it runs again next weekend.
- Lancer1993
- Genius

- Posts: 5342
- Joined: Sat Dec 06, 2014 12:46 pm
- Location: Caloundra
- Contact:
Back working on the car.
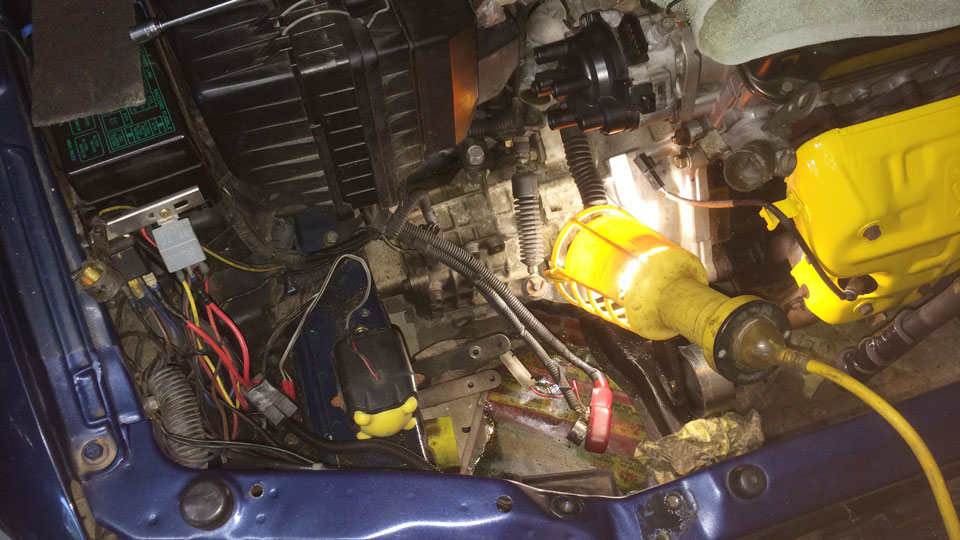
Today I took out the battery to check/clean under it, will chuck some pain on some exposed metal I found before putting it back together.
Yes the exhaust manifold shield is now yellow!
Decided to relocate the alarm siren as it's always been under the battery which is fine most of the time. But when it rains water can get in making a funny sound.
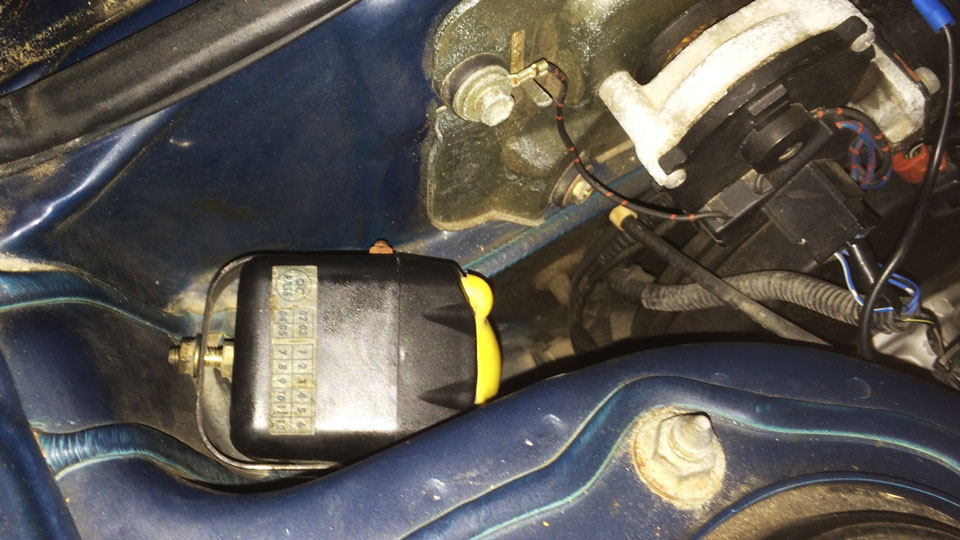
Will be putting it up near the wipers so well out of harms way.
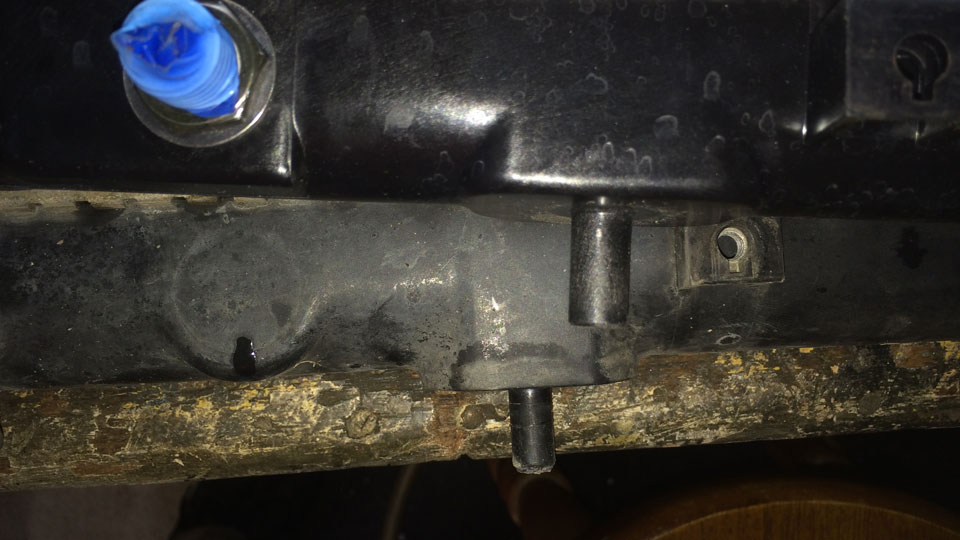
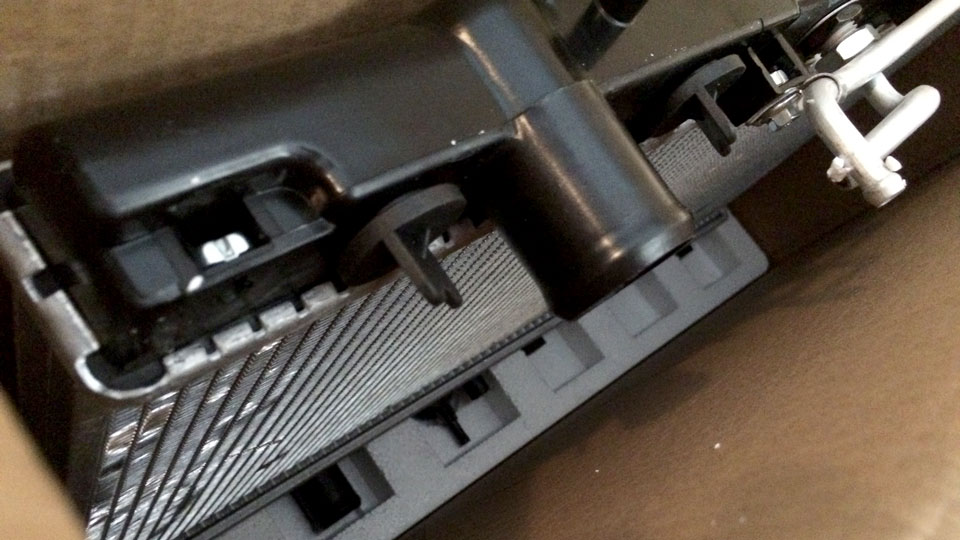
Also got the new radiator ready, but found it was a tad shorter. As the picture shows the old one has a raised section around the mounts. Making some rubber washers to lift it up to fit snug with the top brackets.
Was planning to have the radiator in and connected today but rather do a good job and get things right before proceeding.
Still holing to fire it up by Sunday night but just wondering if it's a good idea to get a mechanic to give it the once over first?

Today I took out the battery to check/clean under it, will chuck some pain on some exposed metal I found before putting it back together.
Yes the exhaust manifold shield is now yellow!
Decided to relocate the alarm siren as it's always been under the battery which is fine most of the time. But when it rains water can get in making a funny sound.

Will be putting it up near the wipers so well out of harms way.

Also got the new radiator ready, but found it was a tad shorter. As the picture shows the old one has a raised section around the mounts. Making some rubber washers to lift it up to fit snug with the top brackets.
Was planning to have the radiator in and connected today but rather do a good job and get things right before proceeding.
Still holing to fire it up by Sunday night but just wondering if it's a good idea to get a mechanic to give it the once over first?
- Lancer1993
- Genius

- Posts: 5342
- Joined: Sat Dec 06, 2014 12:46 pm
- Location: Caloundra
- Contact:
Loads done today.
- Relocated the alarm siren with a DIY bracket.
- Got the wiring back in place.
- Radiator back in along with fans and hoses.
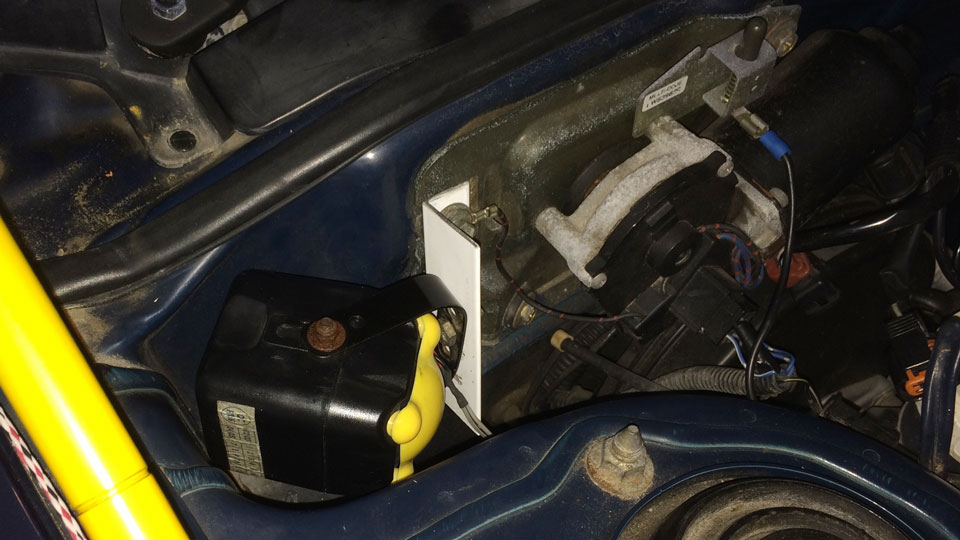
Got the battery on charge and just have a few jobs tomorrow to complete.
- Torque bolt down the rocker arm shafts.
- Fit the timing and valve covers. Not gonna use the new gasket as I might paint the cover, want to guess the color.
- Fit the throttle cable.
- Put the spark plug leads back on.
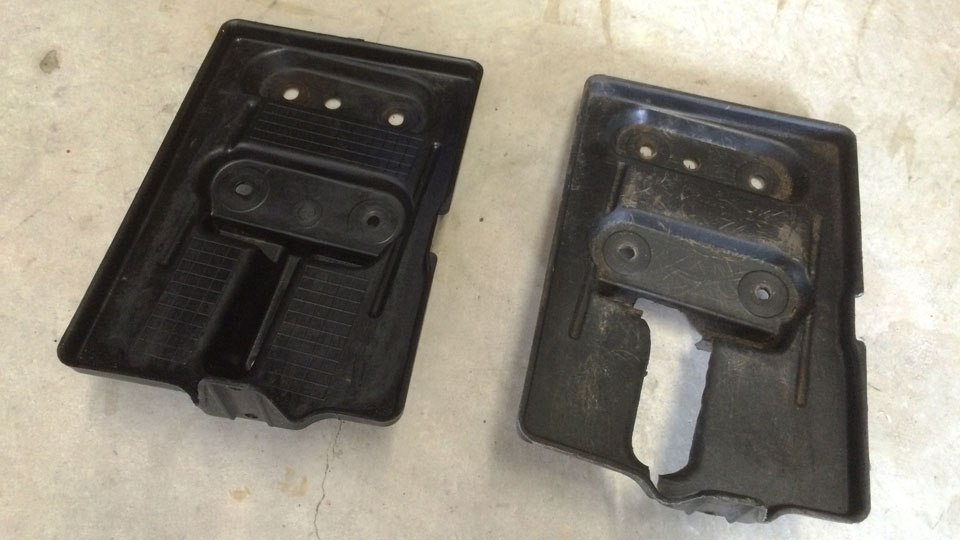
- Install the battery. Got a 'new' base from the M21 as they cut the old one to fit the original alarm.
- Fit the over flow tank.
- Fill the radiator.
- Cross fingers and turn key... might try my luck and video the event
- Relocated the alarm siren with a DIY bracket.
- Got the wiring back in place.
- Radiator back in along with fans and hoses.

Got the battery on charge and just have a few jobs tomorrow to complete.
- Torque bolt down the rocker arm shafts.
- Fit the timing and valve covers. Not gonna use the new gasket as I might paint the cover, want to guess the color.
- Fit the throttle cable.
- Put the spark plug leads back on.
- Install the battery. Got a 'new' base from the M21 as they cut the old one to fit the original alarm.
- Fit the over flow tank.
- Fill the radiator.

- Cross fingers and turn key... might try my luck and video the event
- Lancer1993
- Genius

- Posts: 5342
- Joined: Sat Dec 06, 2014 12:46 pm
- Location: Caloundra
- Contact:
Okay some good news, bad news.
The car is back together and after a few seconds of fuel filling the lines it came back to life...
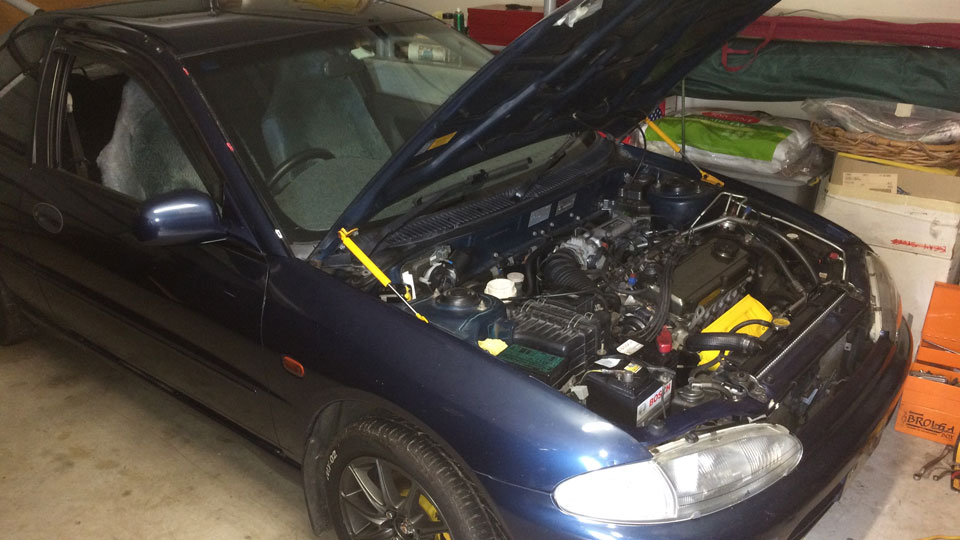
But unfortunately there is an issue, oil leaking from the timing end. Not sure where its coming from but hate to say it might be the head gasket.
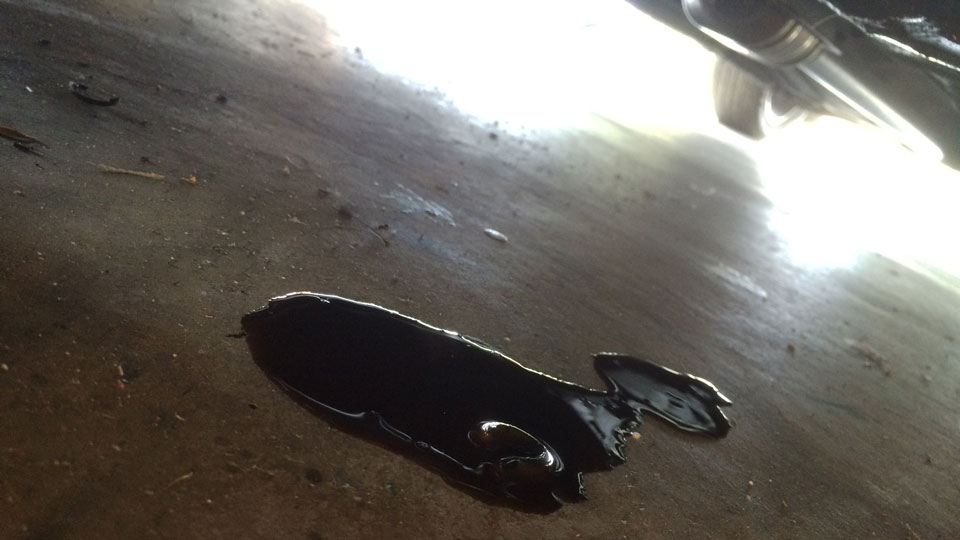
Will take another look next week, maybe get the timing cover off and see if I can see anything leaking from the head in there.
Its safe to run with no timing cover right?
Only other issue was some vapor around the exhaust, I figure it's fluids burning off as it only started once it got hot.
On the upside the radiator looks good and there doesn't appear to be any leaks from the cooling system, including the thermo housing. The alarm siren is working in it's new location and it's louder than before with the bonnet open.
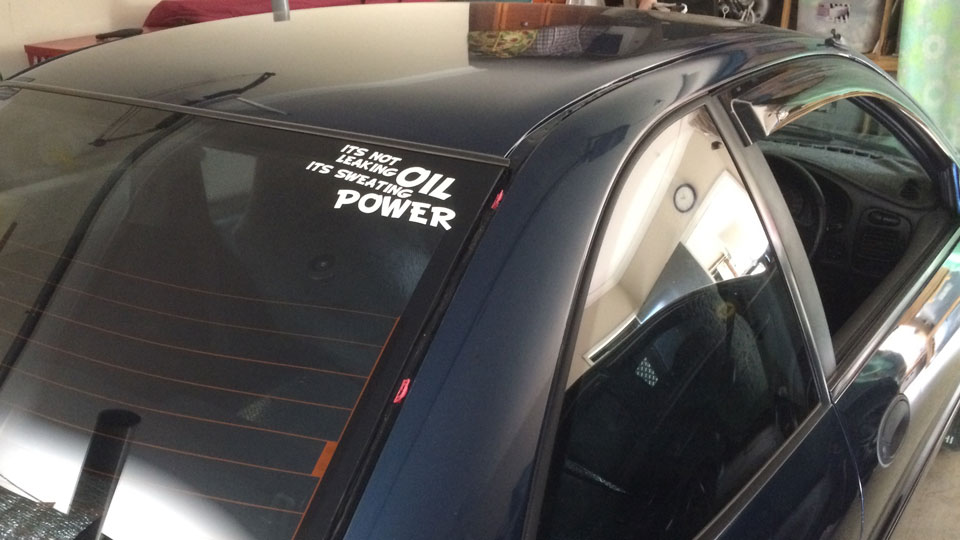
Just could not resist putting this on the coupe...
The car is back together and after a few seconds of fuel filling the lines it came back to life...

But unfortunately there is an issue, oil leaking from the timing end. Not sure where its coming from but hate to say it might be the head gasket.

Will take another look next week, maybe get the timing cover off and see if I can see anything leaking from the head in there.
Its safe to run with no timing cover right?
Only other issue was some vapor around the exhaust, I figure it's fluids burning off as it only started once it got hot.
On the upside the radiator looks good and there doesn't appear to be any leaks from the cooling system, including the thermo housing. The alarm siren is working in it's new location and it's louder than before with the bonnet open.
Just could not resist putting this on the coupe...

- Lancer1993
- Genius

- Posts: 5342
- Joined: Sat Dec 06, 2014 12:46 pm
- Location: Caloundra
- Contact:
Okay the gasket kit, now I've only changed things that needed doing but there are a number of things I don't know what they are for.
Not used the valve rubbers yet, in case things needed adjusting or I paint things LOL
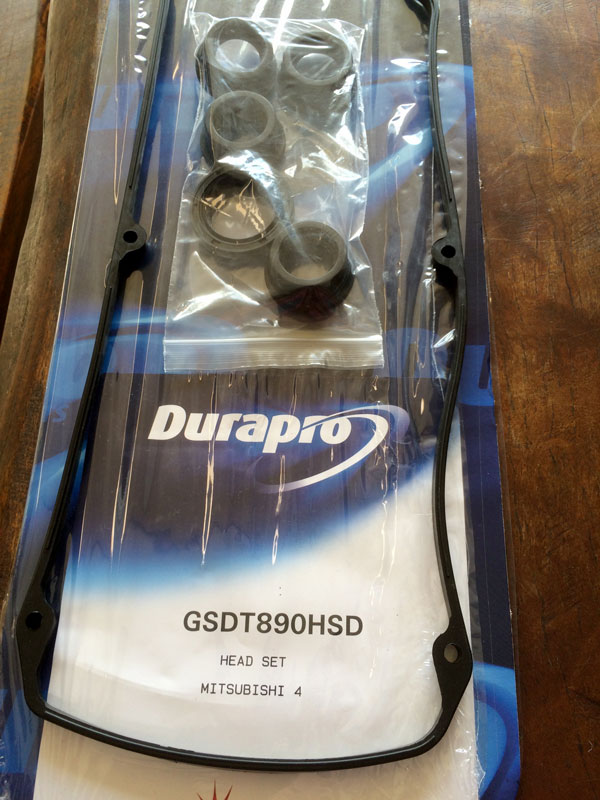
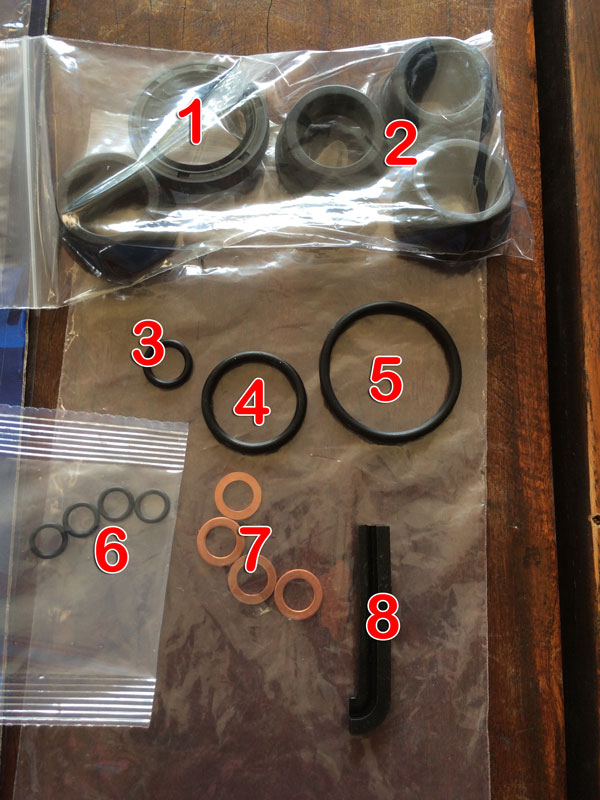
Not sure of most of these,
2 is clearly for the spark plugs.
4 is the water pump end of the tube that runs to the thermo housing.
but then I'm out, I'm stumped on the rest or them.
Better pic of he first thing.
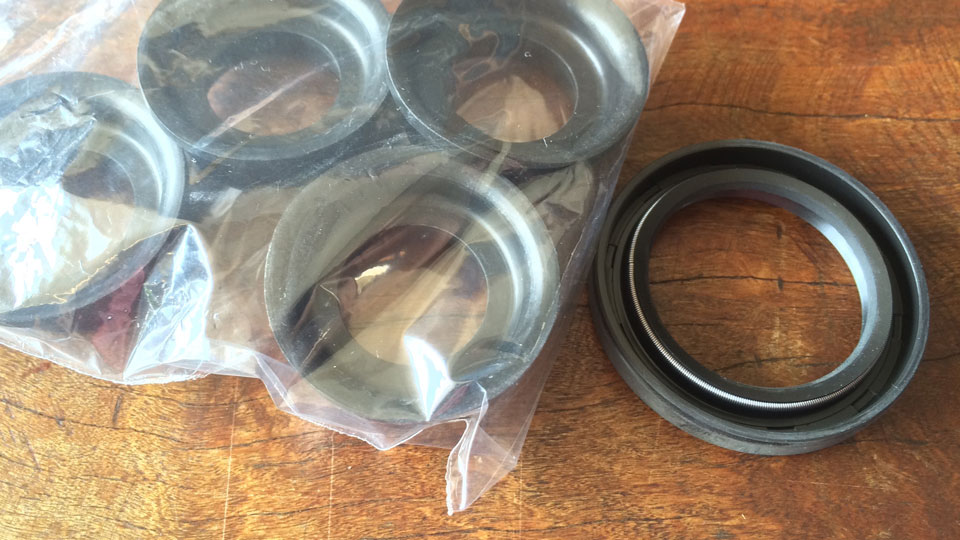
Maybe there is a gasket or seal I didn't replace that is leaking?
Not used the valve rubbers yet, in case things needed adjusting or I paint things LOL

Not sure of most of these,
2 is clearly for the spark plugs.
4 is the water pump end of the tube that runs to the thermo housing.
but then I'm out, I'm stumped on the rest or them.

Better pic of he first thing.

Maybe there is a gasket or seal I didn't replace that is leaking?
Return to “1973 to Present - Lancer History & Performance”
Who is online
Users browsing this forum: No registered users and 21 guests

